Getting flowers for a loved one on Valentine's Day is a classic, sweet gesture, but it can be difficult to find the perfect flower arrangement. Ordering flowers online has made Valentine's Day easier than ever, but some might find it impersonal, and if you've waited until the last minute, you might not be able to get them delivered fast enough! Luckily, crafting a homemade bouquet is easier than you might think. If you want to try your hand at flower arranging to impress your loved one, here's how!
Contents
- Selecting your flower species
- Choosing the individual flowers
- Assembling your bouquet
- Finishing and decorating your bouquet
Recommended Videos
Difficulty
Easy
Duration
1 hour
What You Need
Cut flowers
Scissors
Ribbon or string
Vase or other container (optional)
Decorative paper (optional)
Other decorations (stickers, charms, glass pebbles - optional)

Selecting your flower species
Before you start putting your bouquet together, consider what kinds of flowers you want to use. Here's what to consider:
Step 1: Choose colors and flowers the recipient will enjoy.
Hopefully, you know your recipient's favorite colors, but if not, you might be able to find out by paying attention to what they wear and how they decorate their personal spaces. When in doubt, you can always go with the classic Valentine's Day colors of red, pink, and white.
While roses are the classic Valentine's Day flower, not everyone is fond of them. Luckily, there are many other flowers you can give instead.
Step 2: Use colors that work well together.
You don't need to be an artist to figure out if colors look nice together, but the color wheel can be a big help.
Using colors that are close together on the color wheel (red, orange, and yellow, for example) will create a smooth, subtle bouquet, while using colors that are opposite of each other (such as orange and blue or purple and yellow) will make each color stand out more.
Related
- Kokedama is an easy and elegant gardening trend that you can try today
- Where is the avocado growing zone? Here’s where avocados grow best
- How to propagate dracaenas from cuttings
Step 3: Pay attention to patterns.
Some flowers are solid colored, while others have multicolored or variegated petals. Both are lovely, but using too many patterns can make your bouquet look busy. If you want to use patterned petals, it's a good idea to stick to one pattern, accented with solid-colored flowers.
Step 4: Consider the size and shape of the flowers.
Having a range of sizes and shapes can create a dynamic display, and this is a great step to play around with!
Step 5: Use flowers with pleasant scents and textures.
Using many flowers with strong scents can create a bouquet that's only nice at a distance, and many people enjoy touching the petals or holding the stems of bouquets, so thorns or irritating leaves might need to be removed.
This step is particularly important if your loved one is visually impaired. Creating a bouquet that they can enjoy with other senses will be sure to make them feel loved and appreciated.
Step 6: Add foliage.
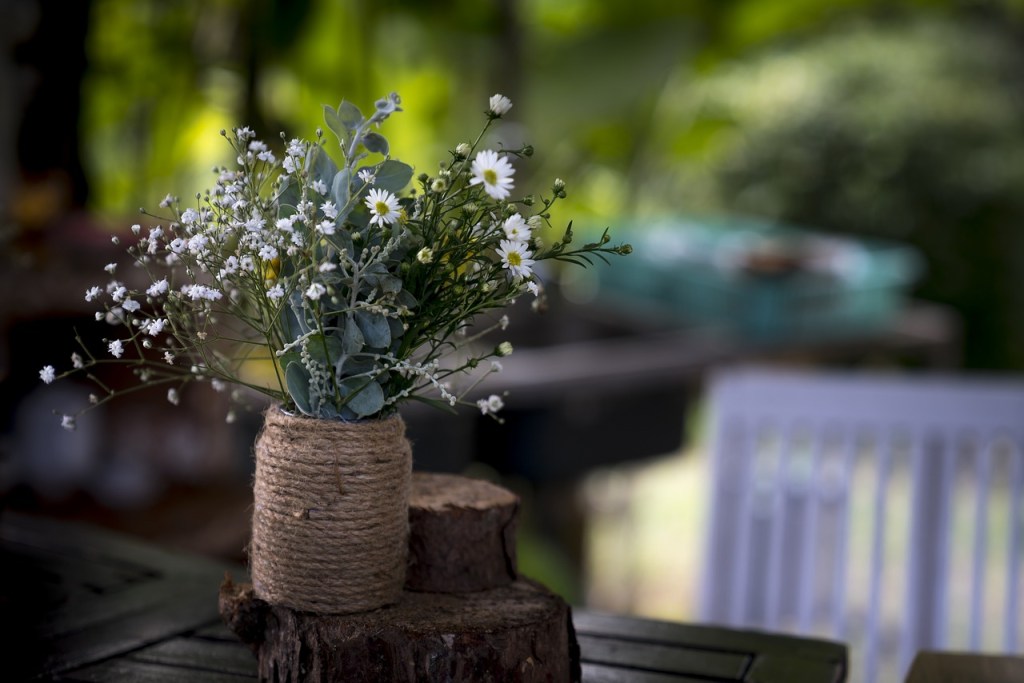
While not strictly necessary, foliage is a great way to add volume to your bouquet without cluttering it. Eucalyptus leaves and ferns are two popular choices.

Choosing the individual flowers
Once you decide on the kinds of flowers to include, here's how to select the specific flowers for your bouquet:
Step 1: Choose healthy, undamaged flowers.
Whether you're cutting them from your own garden or buying them at the store, avoid any wilted flowers, flowers with missing petals, or those that have damage from pests.
Step 2: Look for flowers that are still partially or entirely closed.
Flowers that are still closed will last longer. If longevity isn't as important as the initial appearance, then you don't need to worry about this step. However, you can mix open and closed flowers for a bouquet that looks amazing and that will last.
Step 3: Pay attention to stem length.
Some variation in stem length can create an interesting layered effect in your bouquet, but stems that are significantly longer or shorter than the others can make arranging them difficult. You can cut long stems to the correct length, but short stems can't be lengthened, so choose longer stems over shorter ones.

Assembling your bouquet
Now that you have your flowers, it's time to put them together. There are many ways to assemble a bouquet, and you should feel free to experiment with it. If you're anxious or not sure where to start, here are a few things to consider:
Step 1: Cut the stems of the flowers using scissors.
Try to get them to relatively the same length, and cut them at a slight angle. If your flowers are already the correct length, trim the end so the cut is fresh. This helps the flowers absorb water, which will keep them fresh for longer.
Step 2: Remove thorns, extra leaves, or unnecessary offshoots.
Pay close attention to any that will be under water in a vase, as these will rot.
Step 3: Start at the center of the bouquet and work your way out.
It can be difficult to keep the flowers where you want them if you start at the edges. Instead, start with your central flower or flowers and add more around them.
Step 4: Aim for symmetry.
Your bouquet doesn't have to be perfectly symmetrical (or symmetrical at all), but symmetry is an easy way to make something look pleasing. Using one flower as your centerpiece and adding flowers around it in a pattern, for example, is a simple starting point that any beginner can master!
Step 5: Remember to have fun with it!
Experiment with a new arrangement, and if you like an earlier version better, change it back. Taking pictures of your bouquet as it goes can help you compare different arrangements. If you feel yourself starting to get frustrated or upset, take a quick break. The flowers will still be there when you get back!

Finishing and decorating your bouquet
Congratulations, your bouquet is done! All that's left is to decorate it. You've got plenty of options, but here's where to start:
Step 1: Tie your flowers together with ribbon or string.
This is to keep the flowers from falling apart. Make sure to tie them securely, but not so tight the string or ribbon cuts into the stems. Any kind of string or ribbon will work, but for extra flare, choose something cute that matches your bouquet or that your recipient will love.
If your cute ribbon won't keep them tied securely, you can tie them together with plain string and add a ribbon over it. Alternatively, you can tie the flowers with string and tie the paper (in the next step) with ribbon.
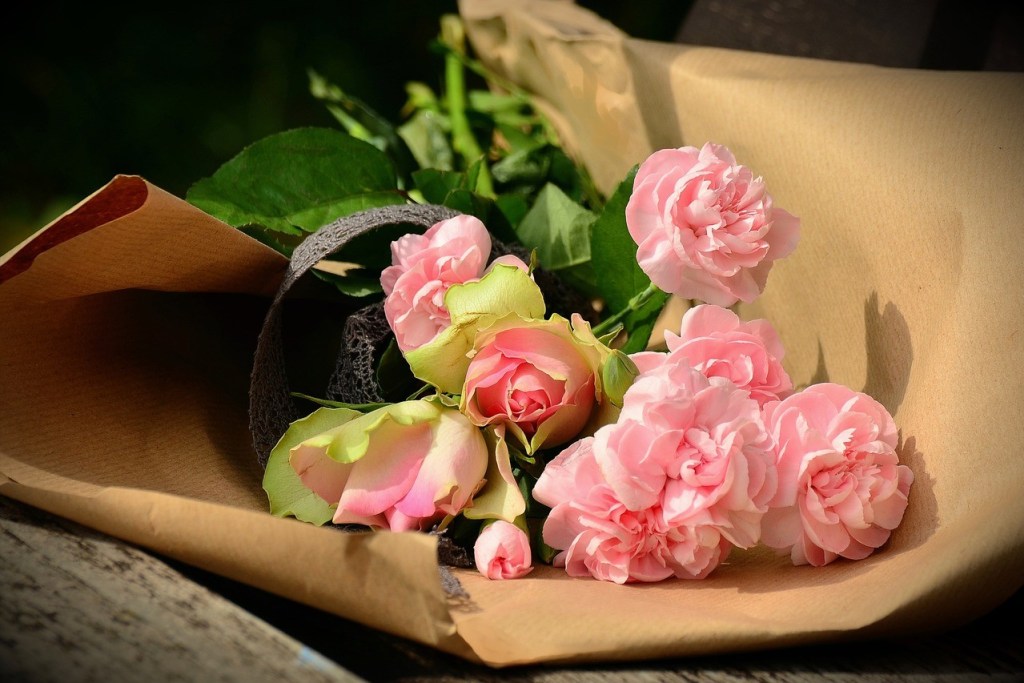
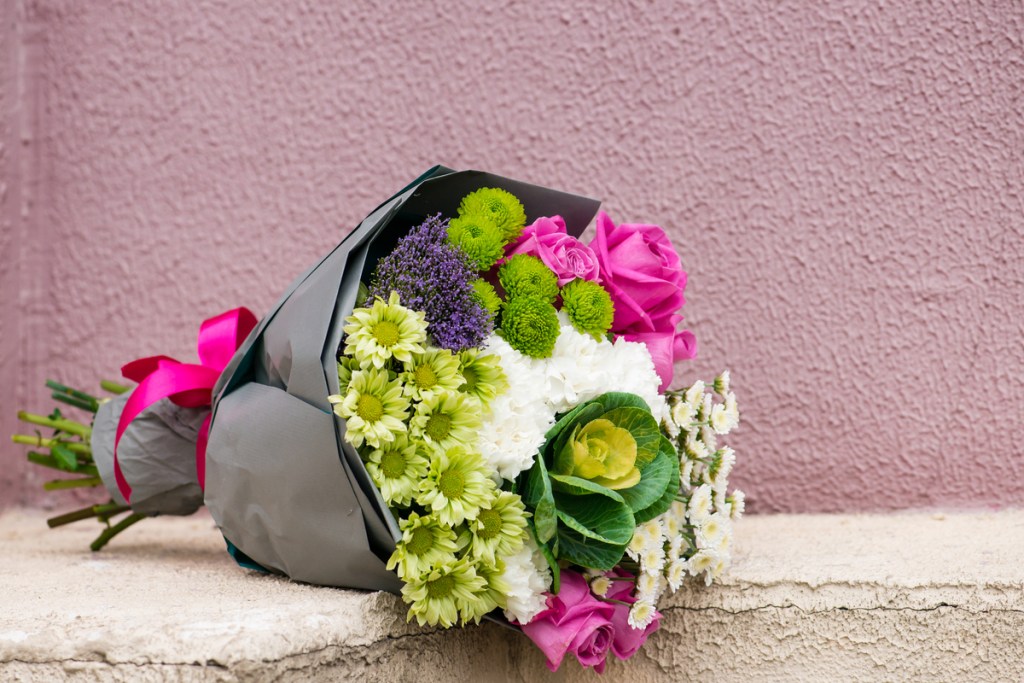
Step 2: Wrap your bouquet in decorative paper, so the stems are covered and the blooms are not.
You can use a solid color that complements your bouquet, or you can pick out a pretty pattern or design. If your recipient has kids in their life, it might be cute to have them help out by coloring or decorating the paper.
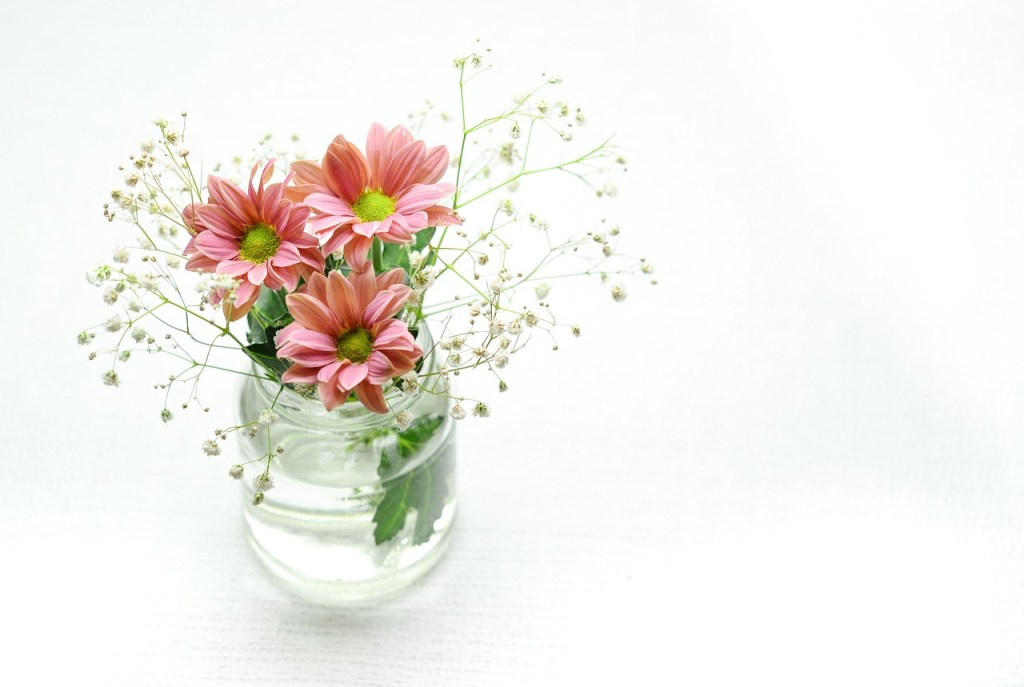
Step 3: Pick out a nice vase for the bouquet to go in.
Your recipient may already have a vase, or you may feel that wrapping your bouquet is a better option. If you choose to get a vase, make sure it's the right height for your bouquet.
A clear vase will work with any bouquet, but don't be afraid to pick out a more colorful vase! You can add some glass pebbles to the bottom to help hold up the bouquet.
Step 4: Add any additional decorations or gifts.
Valentine's Day is known for flowers, but there are other gifts you can give too. Add any finishing touches, like stickers, charms, a card, or a box of chocolates, to your display.
Step 5: Remember to remove any price tags or labels.
It's a good idea to do a final check once your setup is complete, just to be safe.
You know your loved one best, so get creative and make choices you think they'll love. Remember that your bouquet doesn't have to perfect, but putting in the extra effort and making something from the heart can speak volumes all on its own. If you enjoyed making this bouquet, why not keep practicing? There are plenty of occasions where a homemade flower bouquet would be appreciated, and you can even give them out for no reason at all!
Editors' Recommendations
- Wondering what to do with dead flowers? Our favorite ways to give them new life
- How to propagate your own stunning rubber tree plant from a cutting
- How to prune houseplants: A complete guide
- The 8 best plants to grow in a hydroponic garden
- Spider plants are hardy hydroponic plants – here’s how to grow your spider plant in water